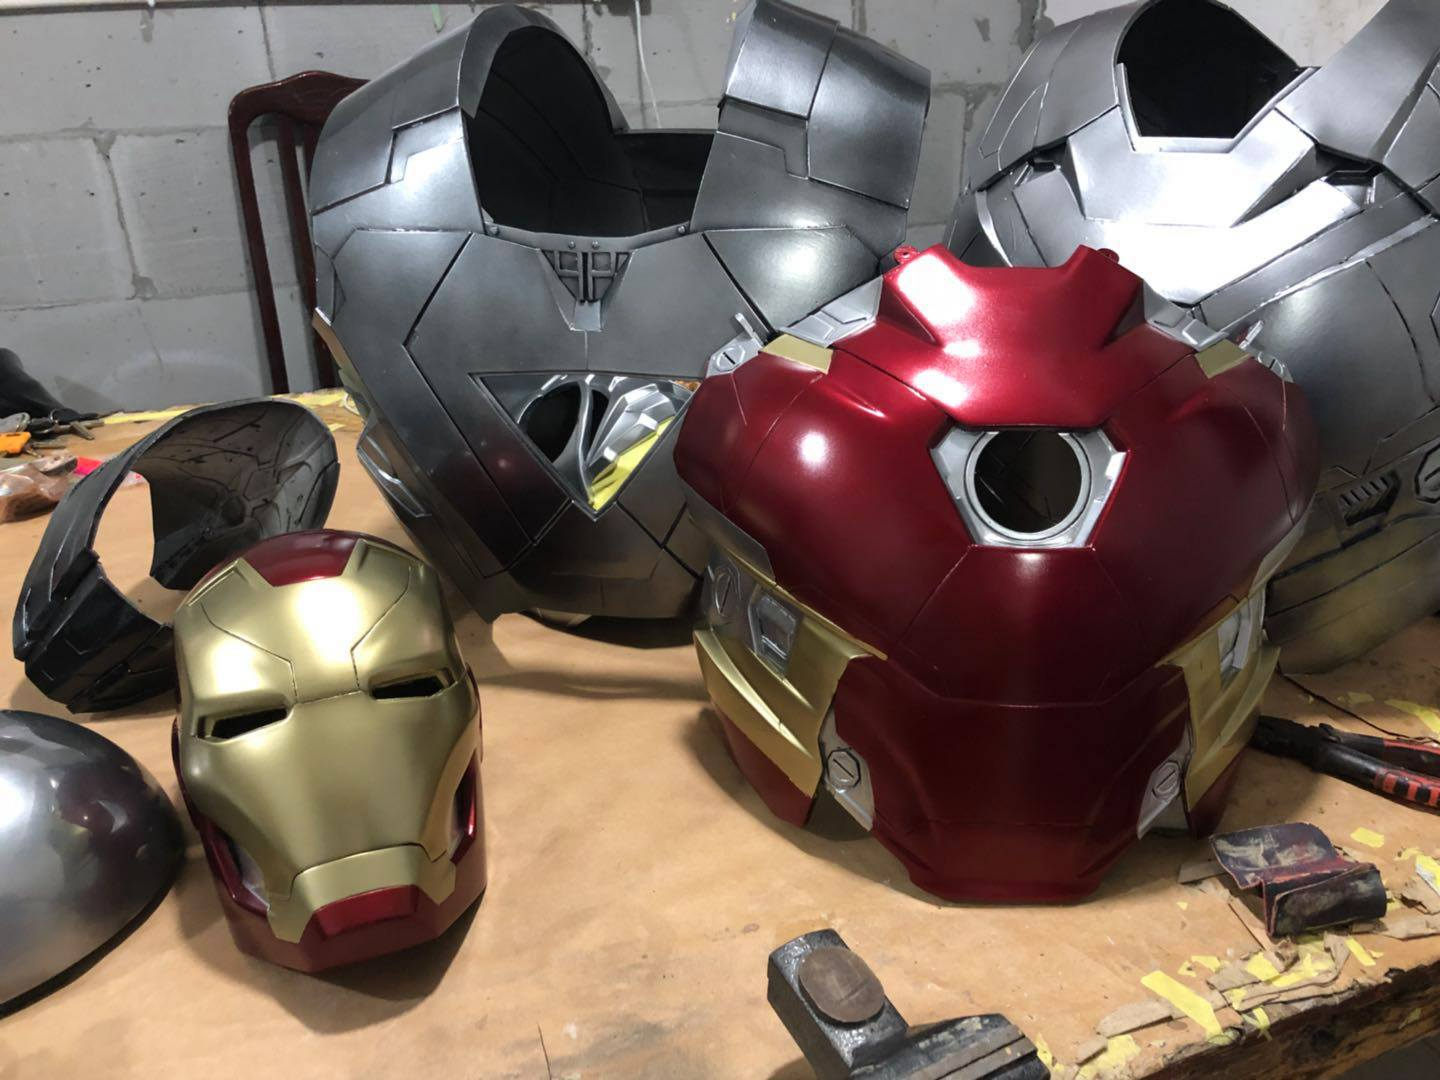
Scale the Iron Man Suits
To build a suitable iron man suit for others, scaling is the most important thing; it's also the first thing we will handle from the moment we get the files. We used to say in our field: the correct scale is half the success of a cosplay project. So today, I'm going to tell you how we scale your iron man suits.
I've searched around the internet before I'm doing this. Some iron man builders talked about how they scaled the suits for themselves. They've mentioned many ways, like building their sizes' mannequins by the cosplay software, then putting the 3d models on, or scanning themselves or simply doing the math with no software or equipment. Mostly they had to try many ways before succeed, which it's a fact!
Like every other skills, scaling is something that grows from many fails. It takes time and patience to discover the best way for individuals. There are no good or bad ways, only the most useful ways for you. Here I'm going to share my ways to scale the iron man suits for customers. I hope this will be helpful for you no matter making your own iron man suits or buying iron man suits from the makers.
Since we make foam suits and 3d printed suits, I will explain my ways relatively.
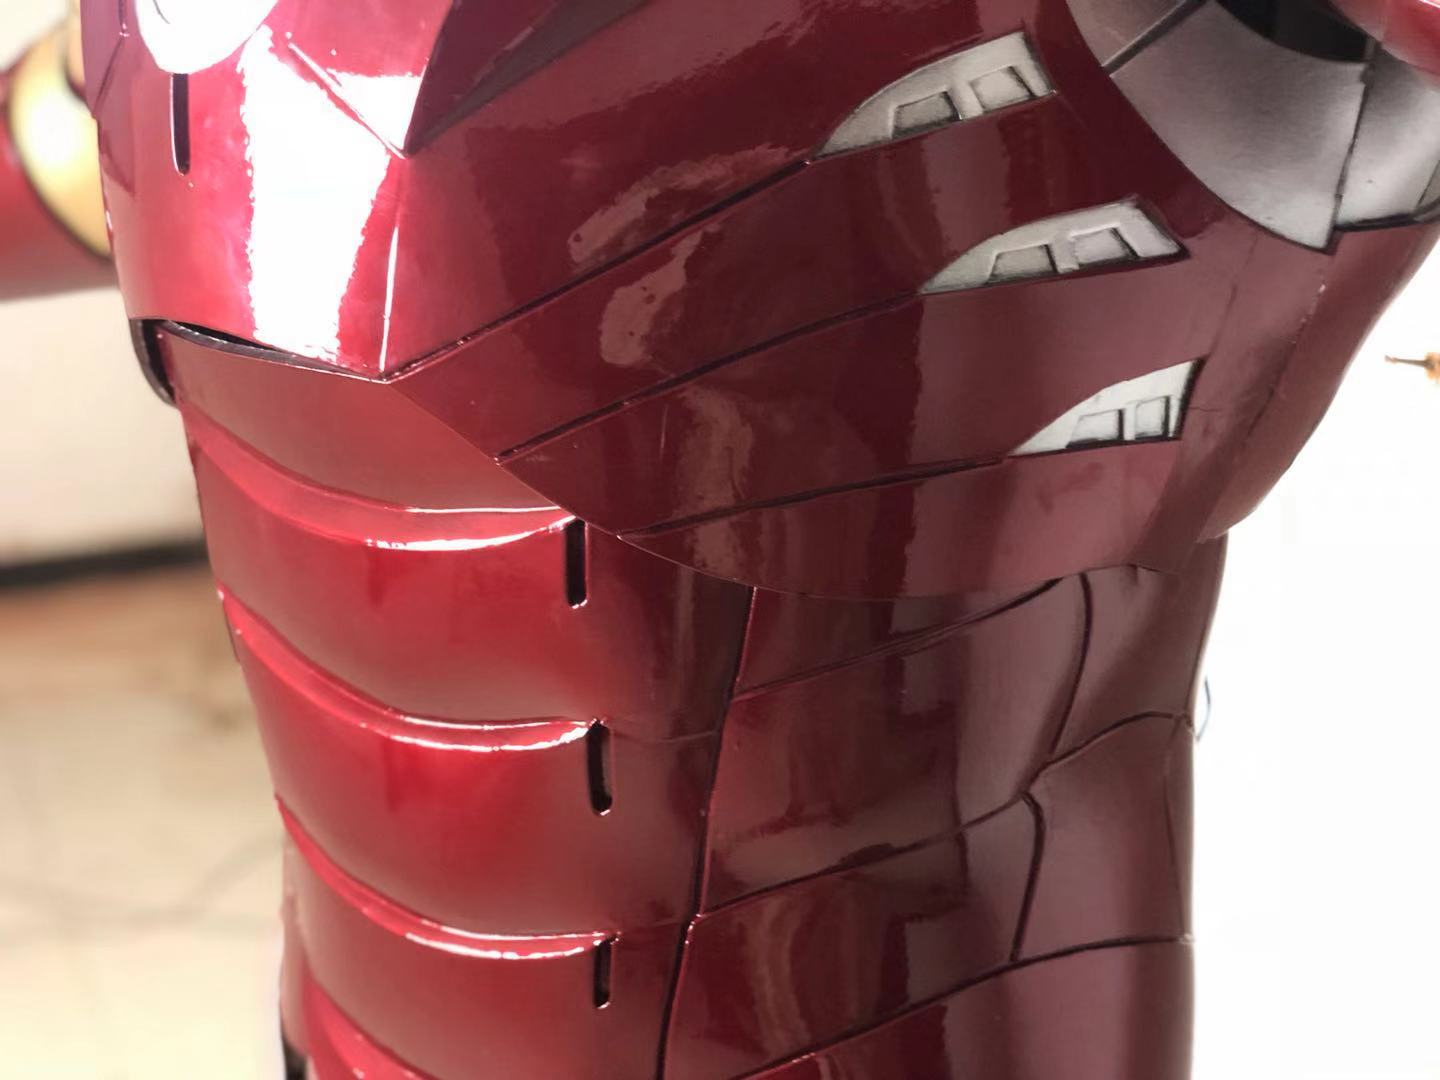
scale foam iron man suits for customers
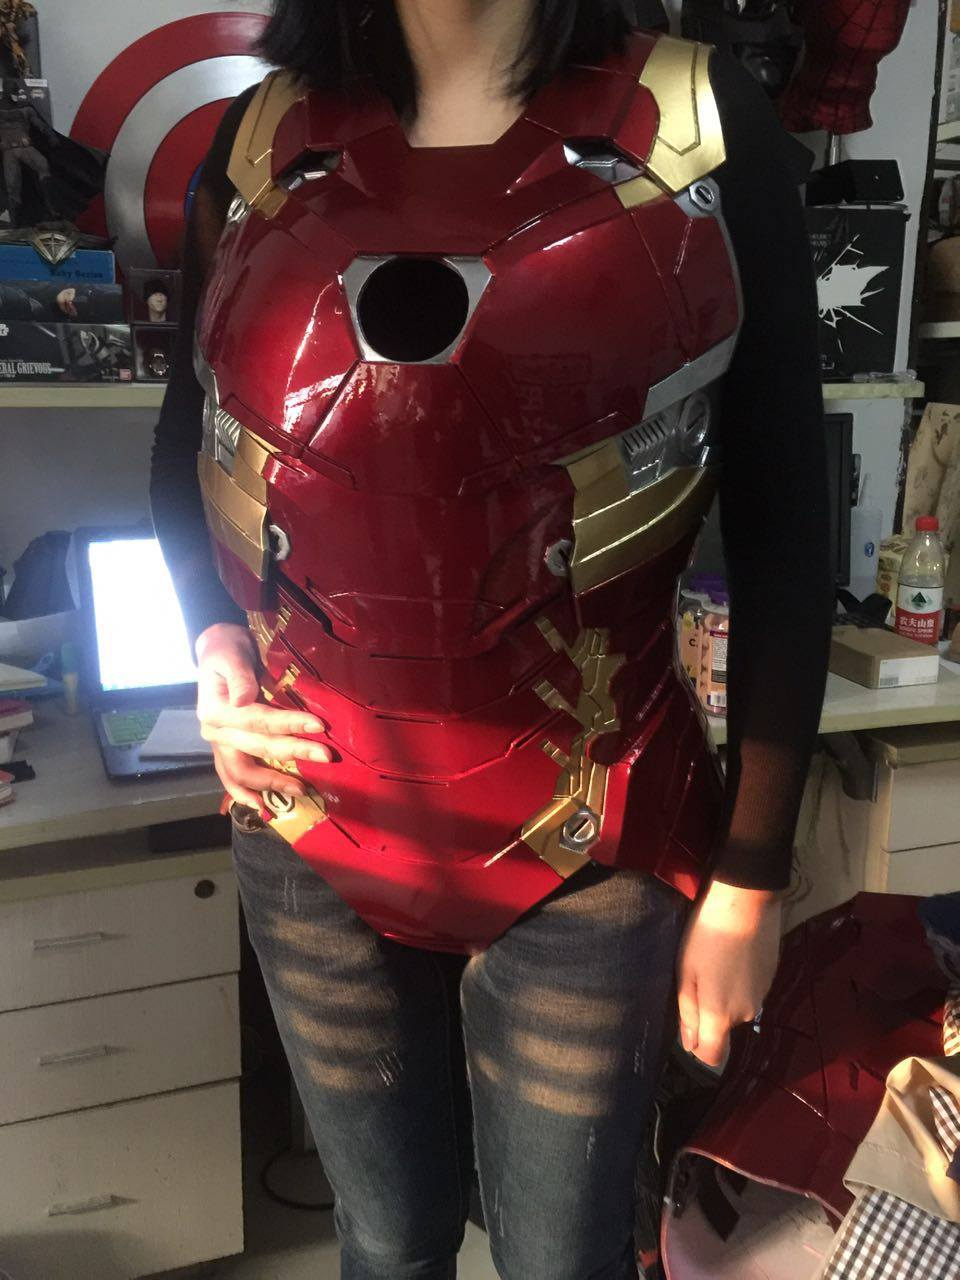
As for a foam suit, we usually do the math. We will check a customer's measurements; then, we will start from his/her waist. As we know, an iron man suit's chest armor always covers a small part of the waist, so the waist armor size determines the chest's armor size. Also, the abs is a body part that is close to the armor and needs to bend in a limited range; therefore, the size of the waist armor is much more critical than the chest. In most situations, as long as the waist is suitable, the chest will have no problem.
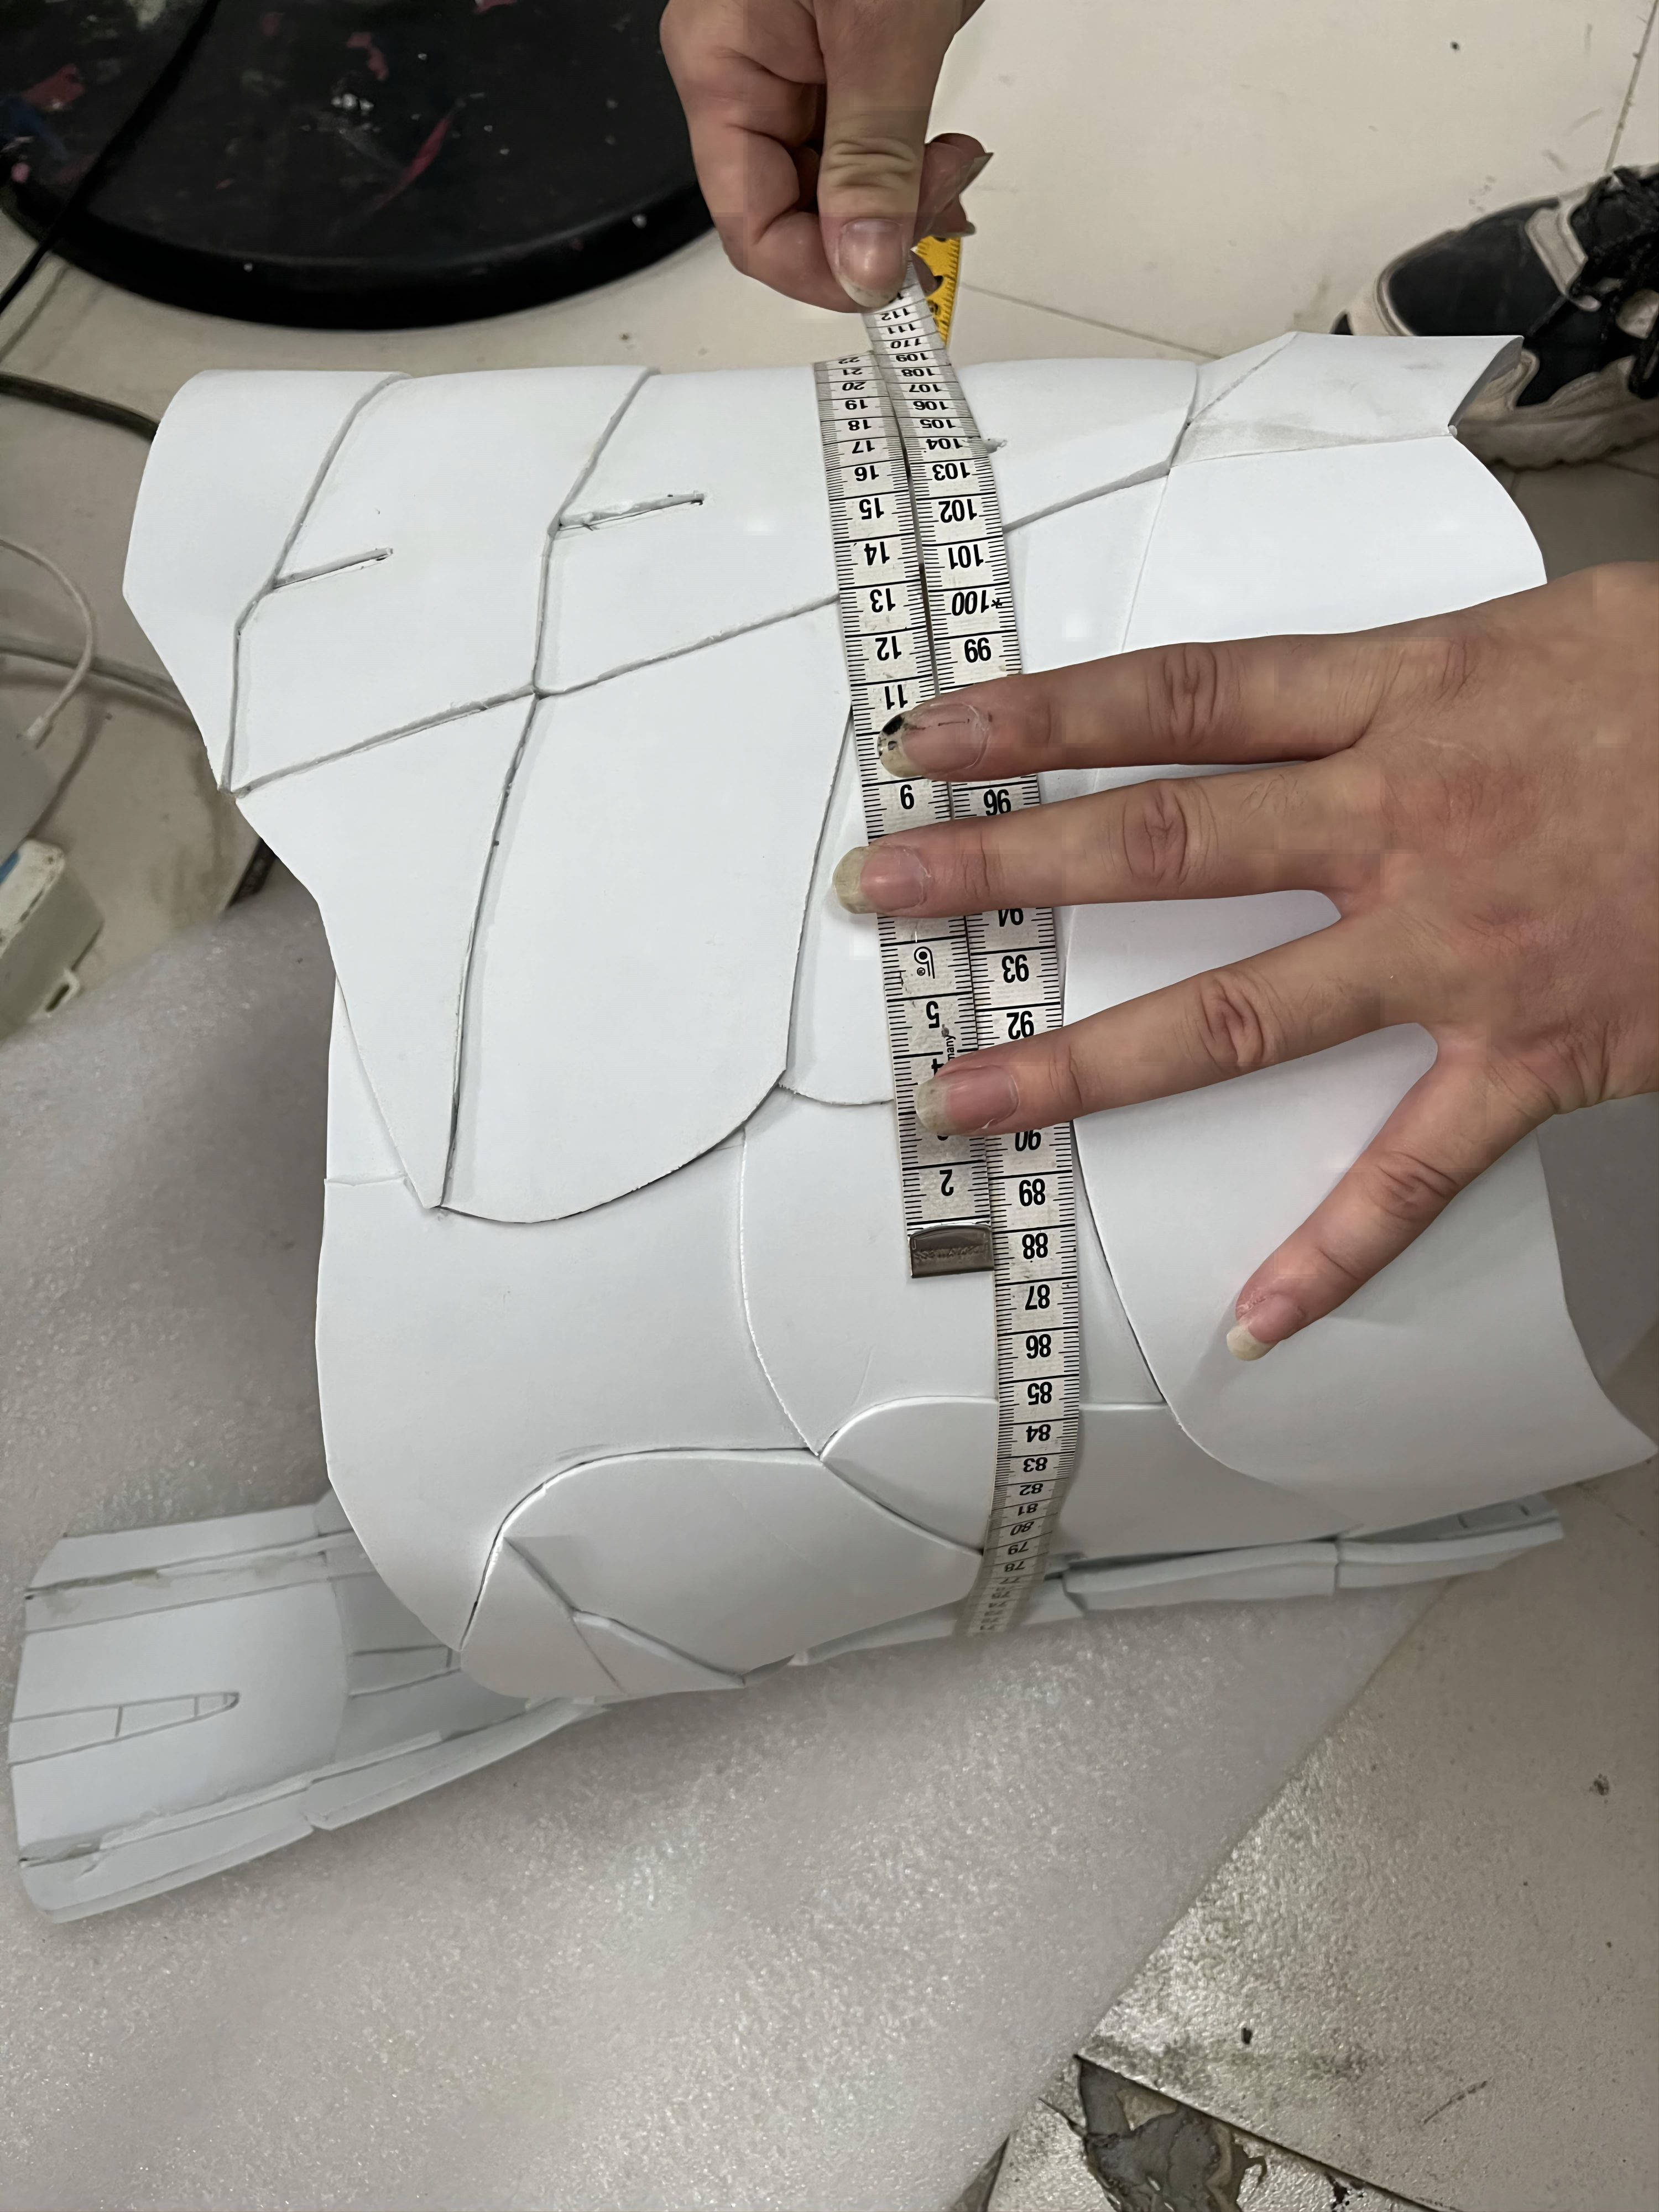
Waist scaling
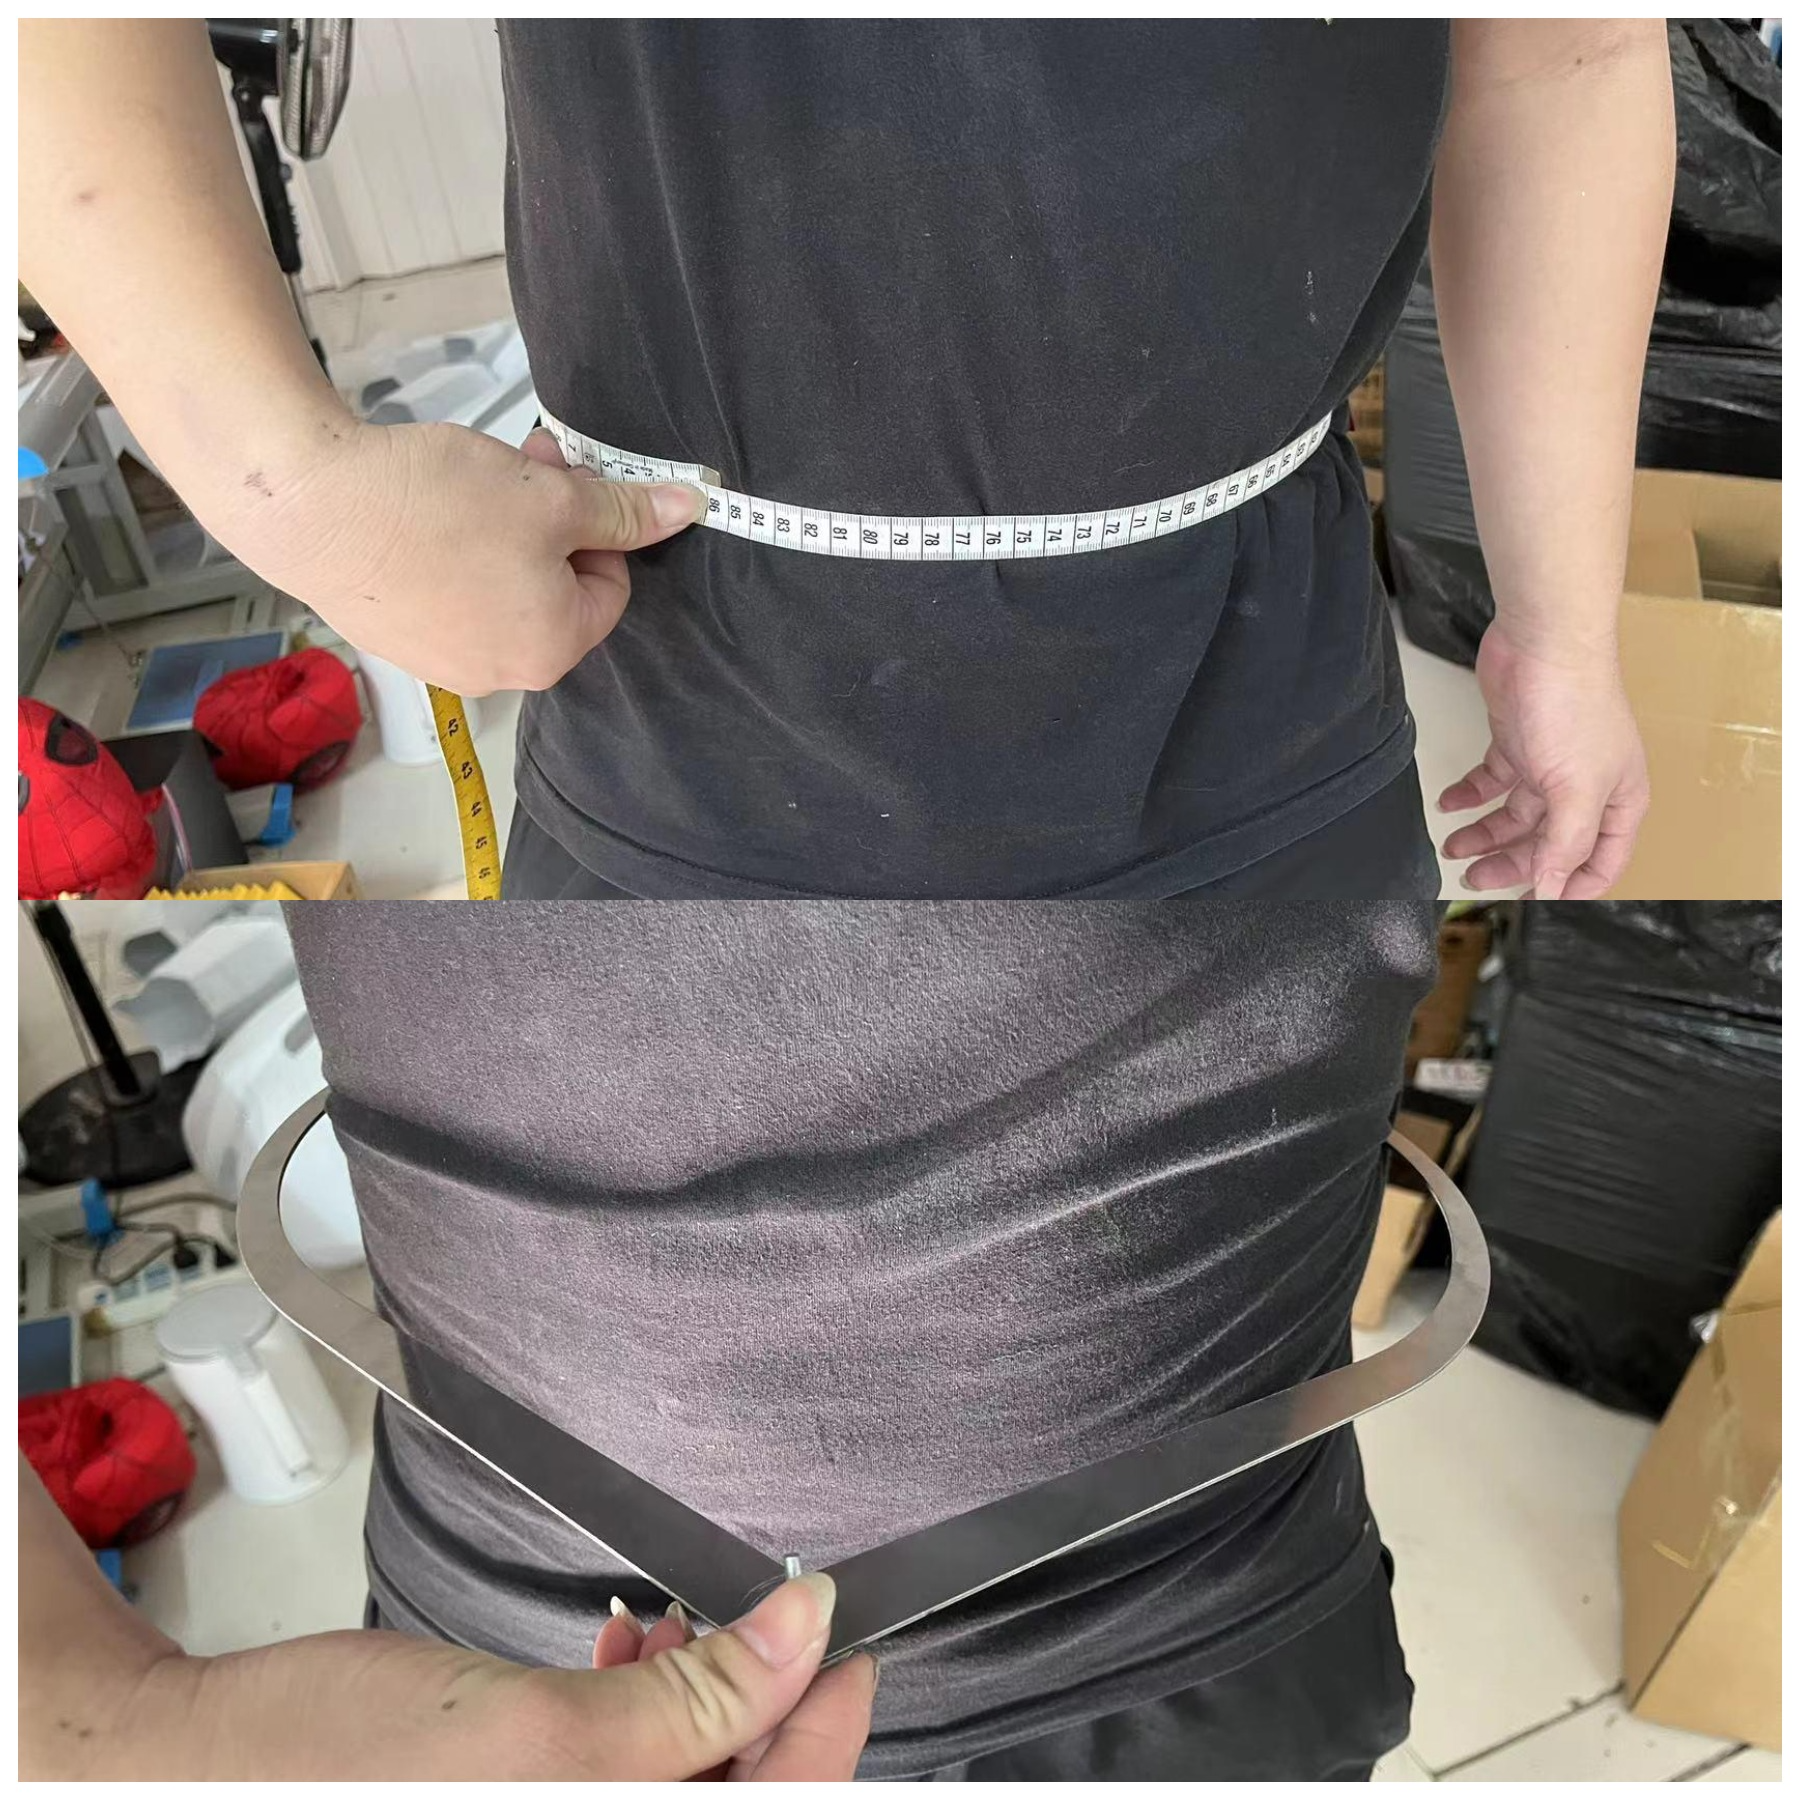
So how do we do the math for the waist armor on Pepakura? We know that Pepakura only shows the width instead of the circumference. However, customers only give us circumference. To figure out how much widths' waist armor will be suitable for a customer. We need to calculate the armor's circumference before it's made out.

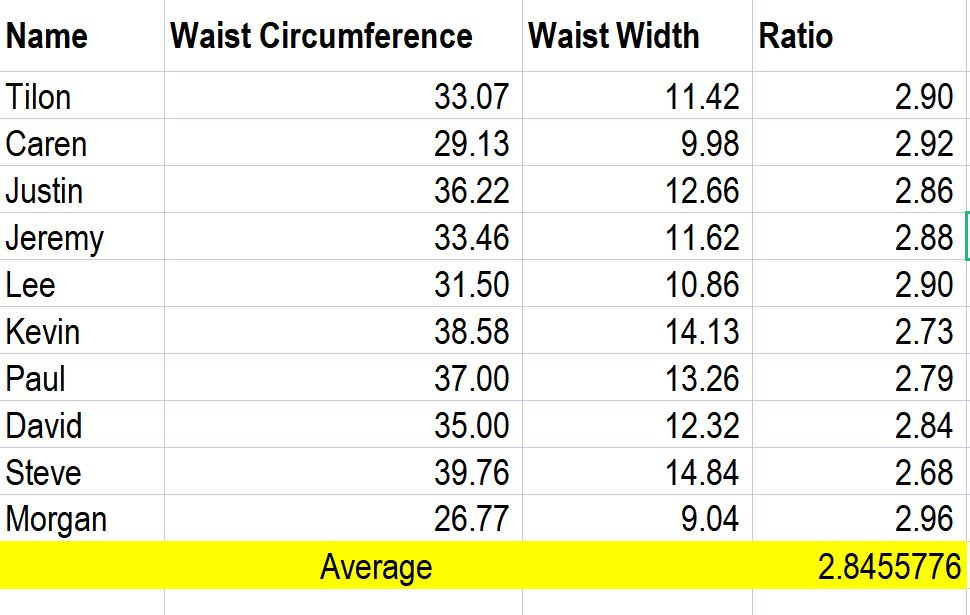
Here is how we do it. We know that our waists are ovals as well as the iron man waist armor. If they are circles, circumferences equal diameters times π. But we don't have the π (ratio) for neither the human waist oval nor the armor's waist oval. The armor now is unmade, so we can only take the data from people around us. We record both the widths and circumferences of several persons around us, do the math (circumference/width) for individuals, and then average the results. The more we record and calculate, the more accurate the ratio will be (if you make your own suit, you will only need to do this for your body).
After getting the ratio between the waist width and circumference. We will add 2 inches to the armor to ensure the customer can fit and bend. So the waist Peakura width we put should be the customer's circumference /proportion+2 inches /proportion.
Chest scaling
Once the waist width is changed on Pepakura, the chest size will automatically change.
I recommend to make the waist armor before we start to scale other parts so we can test with our scaling way with it. If you do this, you will probably find out that the armor is way too big. That’s because human ratio between the circumference and the width does not equal the armor ratio. The armor is more like a circle compared with human waist. So the ratio should be somewhere closer to 3.14. Now since the armor is already built, we will get the armor’s ratio. Record that, then calculate the correct Pepakura width in this way: (the customer’s circumference+2 inches )/armor’s ratio.

Torso length
At this point, we will measure how long the armor's torso is (front and back). Then we will see if it's necessary to modify the suit's torso length to match the customer's. If the armor torso is less than 2.5 inches longer than the customer's torso, we won't change it anymore. If it exceeds 2.5 inches or the torso length on file is shorter than the customer's, we will separate the chest and the waist files, then scale the chest length. However, shortening the chest will narrow it at the same time. The chest armor won't cover the waist after being narrowed. In this situation, we will compromise to handly widen the chest by adding the same inches foam at two sides that locate right below our armpits (this place is barely noticeable).
Arms and legs
Now let's go forward to scale arms and legs. For arms and legs, the lengths are more critical. So we will go to the lengths first. Usually, arms' lengths are suitable for humans; we don't need to change that. But we still need to check if the customer's hands can pass through the wrists. Our judge goes to like when a customer's palm width is small than the wrist diameter; there will be no problem; contrarily, we will slightly adjust the wrist diameter—the same way for the biceps (check if they can pass through the elbows)and legs.
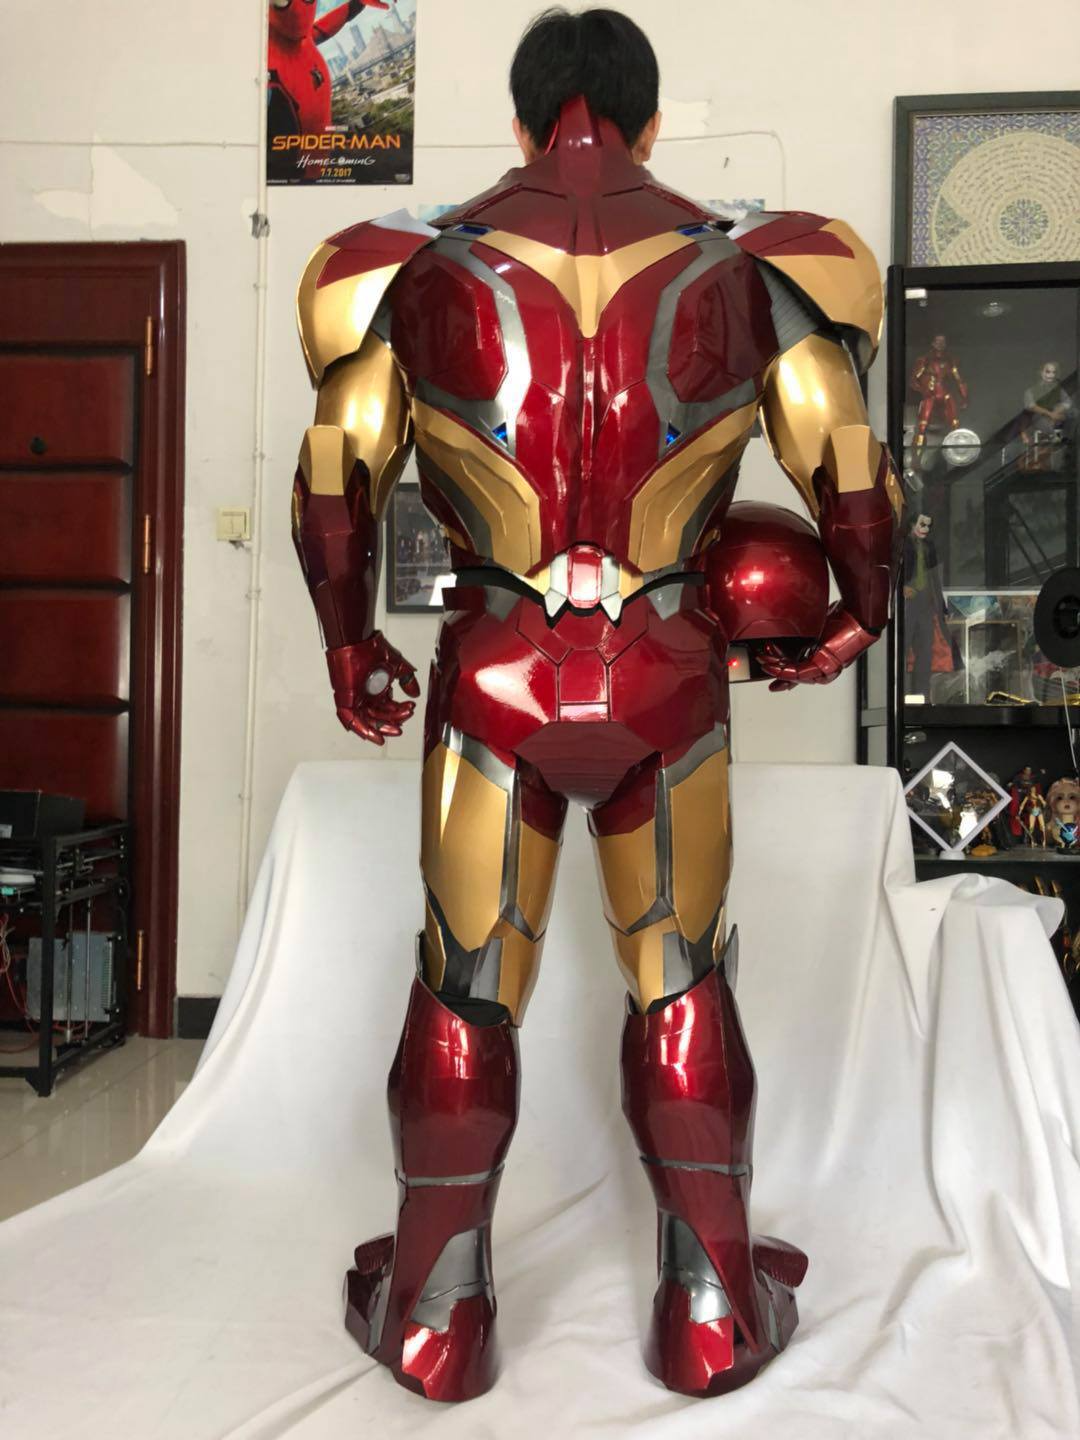
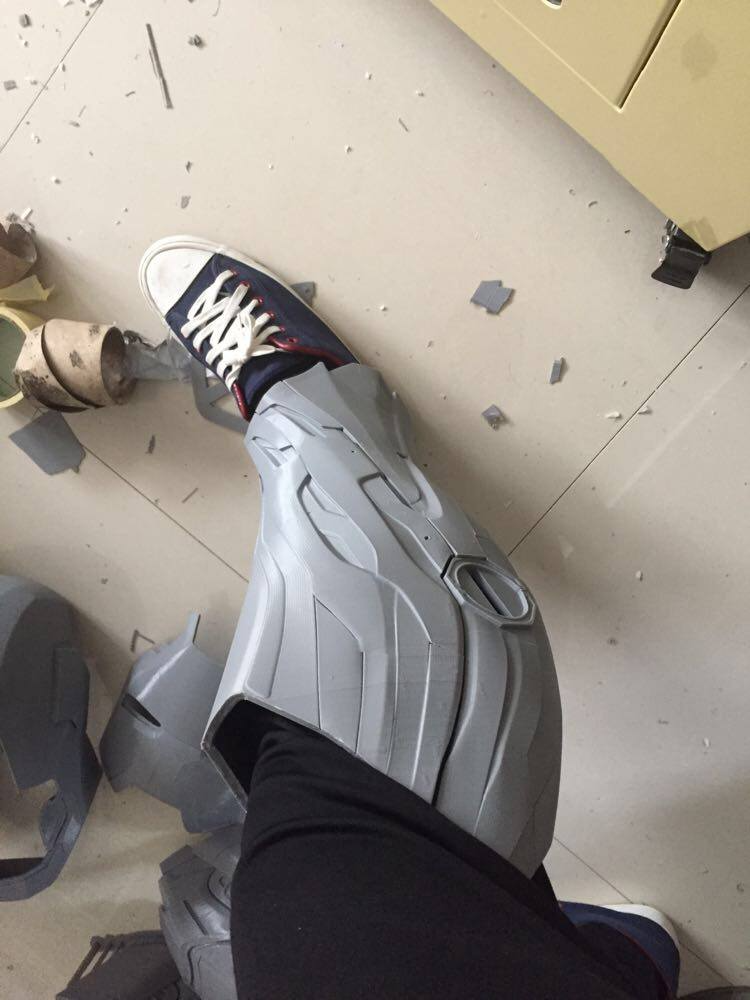
It's more likely that the suit's legs are longer than human legs. If the margin is less than 2.5 inches, we will leave them for the customer to add booster pads. If it's more than 2.5 inches, we will shorten the legs to the customer's leg lengths +2.5 inches. Then check if the widths still fit the customer. If it's too narrow, we will go for handly widen them.
Neck and shoes
At last, we will scale the shoes and necks. As the shoes need to fit the wearer's shoes, we will add 1.5 inches length to them. Most iron man suits' necks are way too long to fit human beings (especially MK7 and MK46). So we will shorten them according to the customers' neck lengths, then handly widen them.
Scale a 3d printed iron man suit for a customer
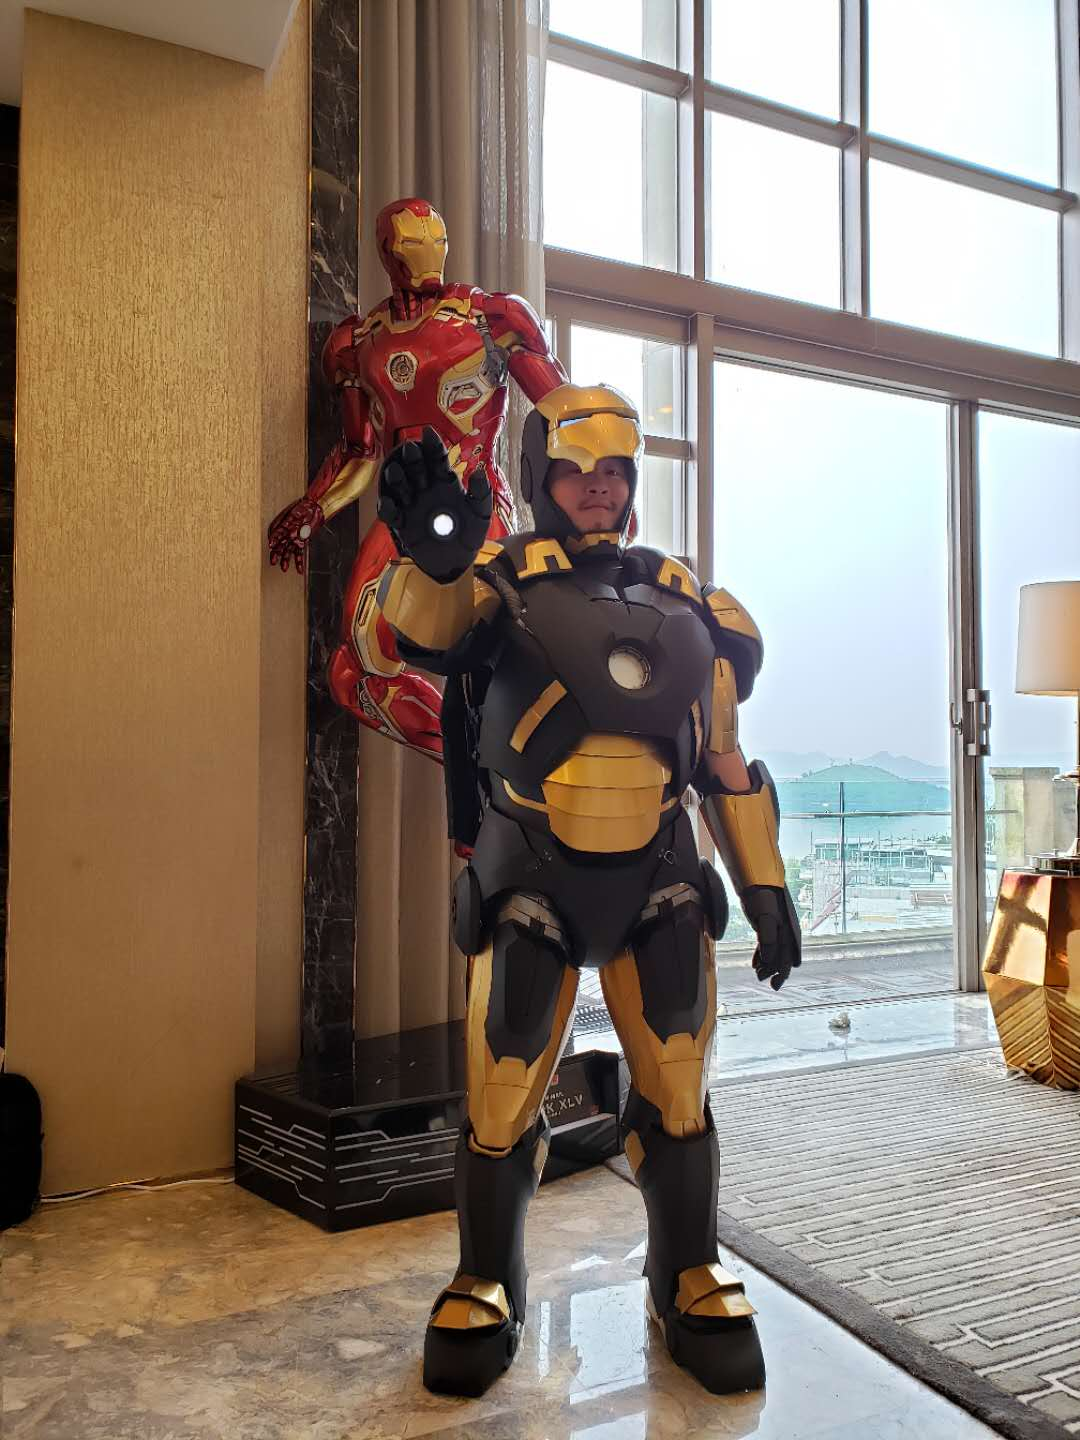
Scaling a 3d printed iron man suit is much easier than foam suits because we don't do the math on it. Instead, we use software like CLO Standalone to build a mannequin for the customer, and we put the suits on, then you will see everything clearly. I'm not going to talk about how to use CLO as you can find many tutorials on the internet. What I'm going to share is our experience in scaling the 3d printed iron man suits. Now though you are able to preview the look of the wearer in the suit, it doesn't mean the wearer can always put it on. If you don't predict how he/she will wear it, you will miss something, and you know it wastes more than a foam suit. So I'm going to point out several things that we pay attention to when we scale the 3d printed iron man suits
1. Make sure the hands can pass through the wrists
2. Make sure the elbows can pass through the narrowest places of the biceps
3. Make sure the feet can pass through the ankles (if we don't cut the shin)
4. Make sure the knees can pass through the narrowest places of the thighs (of we don't cut the thigh)
5. When the model needs to be stretched wide, the circles like the arc reactor and hand repulsors will become ovals. To fit the electrical parts, we will remake them to be circles.
6. Leave some space between the armor and body so the wearer can move
7. In addition to the measurements, asking for wearer's fron pics and back pics so we will provide the wearer a preview with the suit on. At the mean time we will know the further risk of making the suit (e.g if the final look of the wearer wearing the suit will be with a big head to narrow shoulders, which is common in kids cosplay) so we can communicate with the customer better.
Speaking of communication, I think it's very important for both making the foam suits and 3d printed suits. As we are making the suits for them. The more info we know, the better we can sacle.
I didn't expect this to go such long, but this is how we do. There were many wastes at the beginning, but with more practice and tests, our experiences mountain so we can be fast and precise in making the iron man suits suitable!